Blender 5.1.1 Workflow: From Concept to Production-Ready 3D Models
Blender has become one of the most powerful and widely used 3D creation tools in the world. Thanks to continuous improvements, Blender 5.1.1 offers artists, designers, game developers, architects, and animators a complete production pipeline within a single application. Whether you're creating game-ready assets, animated films, architectural visualizations, product renders, or digital sculptures, Blender provides everything needed from the first sketch to the final render.
In this guide, we'll explore a professional workflow that helps you create efficient, high-quality 3D assets using Blender 5.1.1.
Why Blender 5.1.1?
Blender is completely free and open-source while offering features that rival commercial software.
Its major capabilities include:
- Polygon Modeling
- Digital Sculpting
- UV Editing
- Texture Painting
- Geometry Nodes
- Rigging
- Animation
- Physics Simulation
- Compositing
- Motion Tracking
- Video Editing
- Cycles Rendering
- Eevee Rendering
- Asset Browser
- Grease Pencil
- Python Scripting
Frequent updates and a massive community make Blender one of the best choices for professionals and beginners alike.
Step 1: Project Planning
Every successful 3D project starts with proper planning.
Before opening Blender, gather all necessary resources, including concept art, reference images, mood boards, technical requirements, and target platform specifications.
Determine the polygon budget, texture resolution, animation requirements, and final output format before beginning production.
A solid plan saves countless hours later in the workflow.
Step 2: Blocking the Model
Begin with simple primitive objects.
Focus on:
- Scale
- Proportions
- Overall Shape
- Silhouette
- Composition
Avoid adding unnecessary details during this stage.
The goal is to establish a strong foundation before refining the model.
Step 3: Modeling
Once the blockout looks correct, begin refining the geometry.
Blender offers several professional modeling techniques, including box modeling, edge modeling, hard-surface modeling, curve modeling, and Boolean workflows.
Frequently used modifiers include:
- Mirror
- Bevel
- Subdivision Surface
- Solidify
- Array
- Shrinkwrap
- Weighted Normal
Maintain clean topology with evenly distributed polygons and proper edge loops for easier editing and animation.
Step 4: Sculpting
For characters and organic objects, sculpting adds life and detail.
Useful sculpt brushes include:
- Clay Strips
- Draw
- Crease
- Inflate
- Grab
- Smooth
- Snake Hook
Multiresolution and Dynamic Topology allow artists to create highly detailed surfaces while maintaining flexibility throughout production.
Step 5: Retopology
High-resolution sculpted models usually require optimized geometry before they can be animated or used inside game engines.
Retopology creates clean topology with efficient edge flow, better deformation, lower polygon counts, and easier UV mapping.
Good retopology improves both performance and animation quality.
Step 6: UV Mapping
UV mapping unfolds the 3D model into a two-dimensional layout for texturing.
Good UV layouts minimize stretching, maximize texture space, maintain consistent texel density, and place seams where they are least visible.
Well-organized UVs make texturing significantly easier.
Step 7: Materials and Texturing
Modern production relies on Physically Based Rendering (PBR).
Common texture maps include:
- Base Color
- Roughness
- Metallic
- Normal
- Ambient Occlusion
- Height
- Emission
- Opacity
Blender supports procedural materials, painted textures, and imported PBR texture sets from applications like Substance Painter.
Step 8: Geometry Nodes
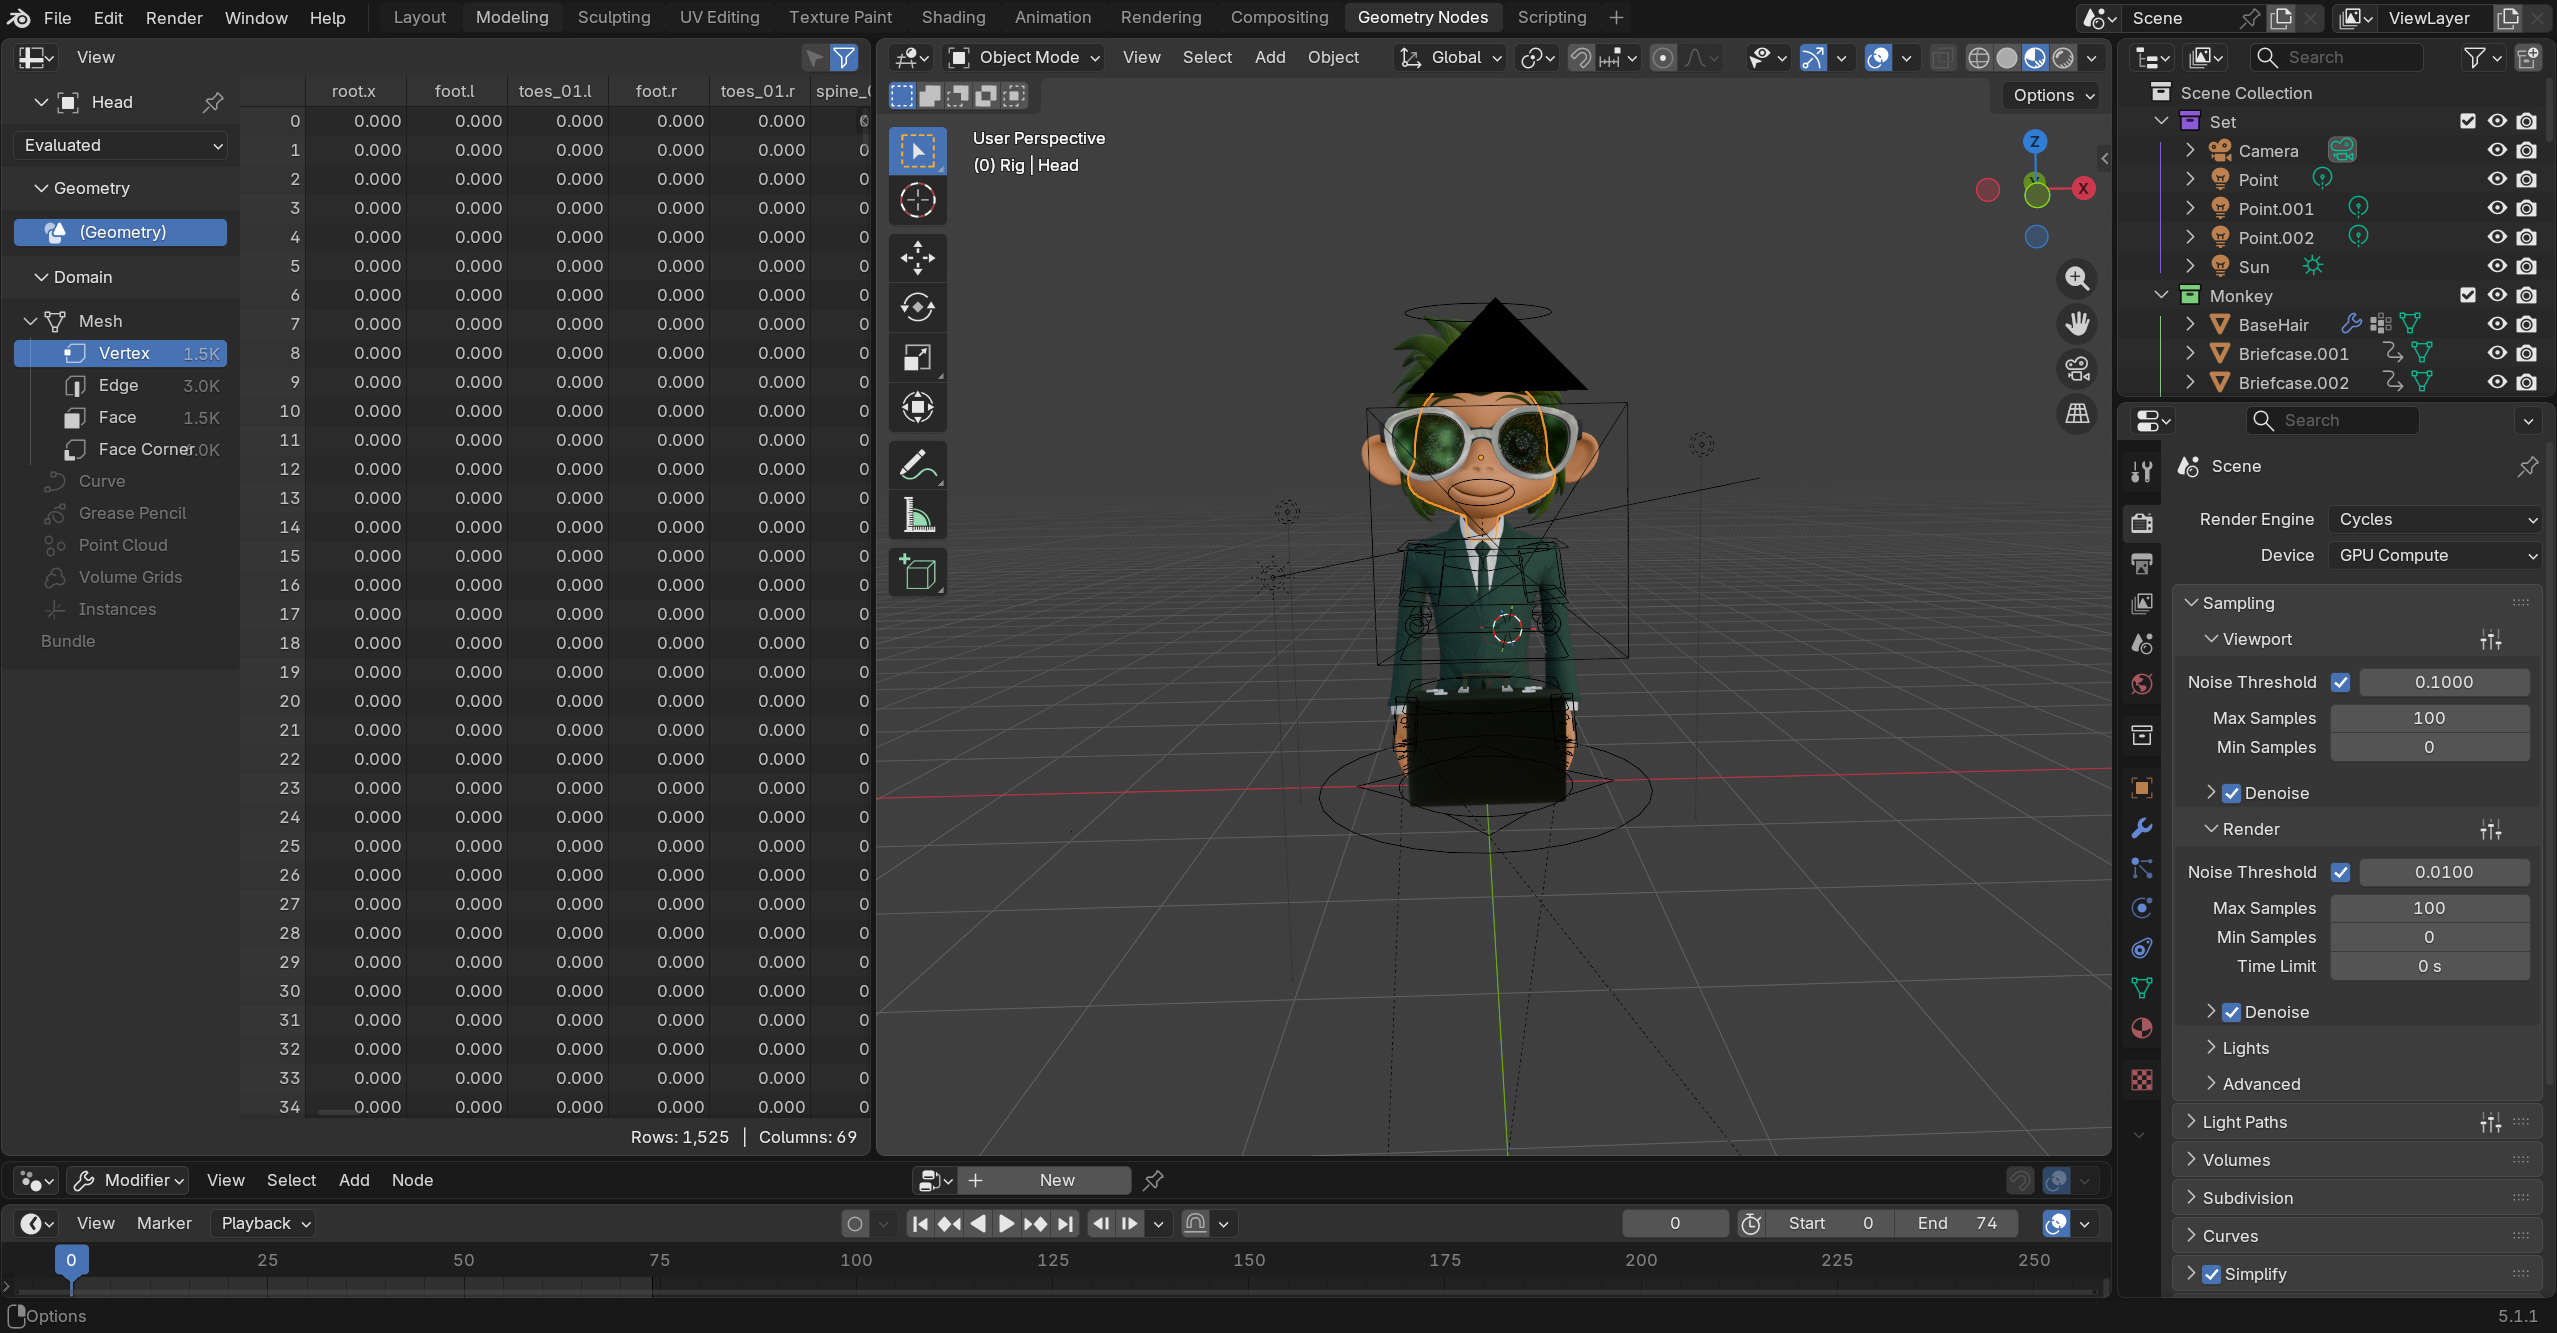
Geometry Nodes have become one of Blender's most powerful procedural systems.
Artists use them to create:
- Procedural environments
- Scattering systems
- Road generation
- Buildings
- Vegetation
- Rock formations
- Motion graphics
- Custom modeling tools
Geometry Nodes reduce repetitive work and enable non-destructive workflows.
Step 9: Lighting
Lighting determines the mood and realism of every scene.
Popular lighting techniques include:
- HDRI Lighting
- Three-Point Lighting
- Area Lights
- Sun Lights
- Volumetric Lighting
- Rim Lighting
- Global Illumination
Well-balanced lighting enhances materials and creates believable environments.
Step 10: Rendering
Blender provides two professional rendering engines.
Cycles delivers physically accurate ray-traced rendering with realistic reflections, lighting, and shadows.
Eevee offers fast real-time rendering, making it ideal for previews, animations, and interactive projects.
Choose the renderer that best suits your project's goals.
Step 11: Optimization
Before exporting your project, optimize every asset.
- Apply modifiers where appropriate.
- Remove unused materials and textures.
- Reduce unnecessary polygons.
- Compress texture files.
- Use Level of Detail (LOD) models when needed.
- Organize collections and object names.
- Proper optimization ensures better performance across games, animations, and real-time applications.
Step 12: Exporting
Blender supports exporting to numerous industry-standard formats, including:
- FBX
- OBJ
- GLTF
- USD
- STL
- Alembic
- USDZ
- PLY
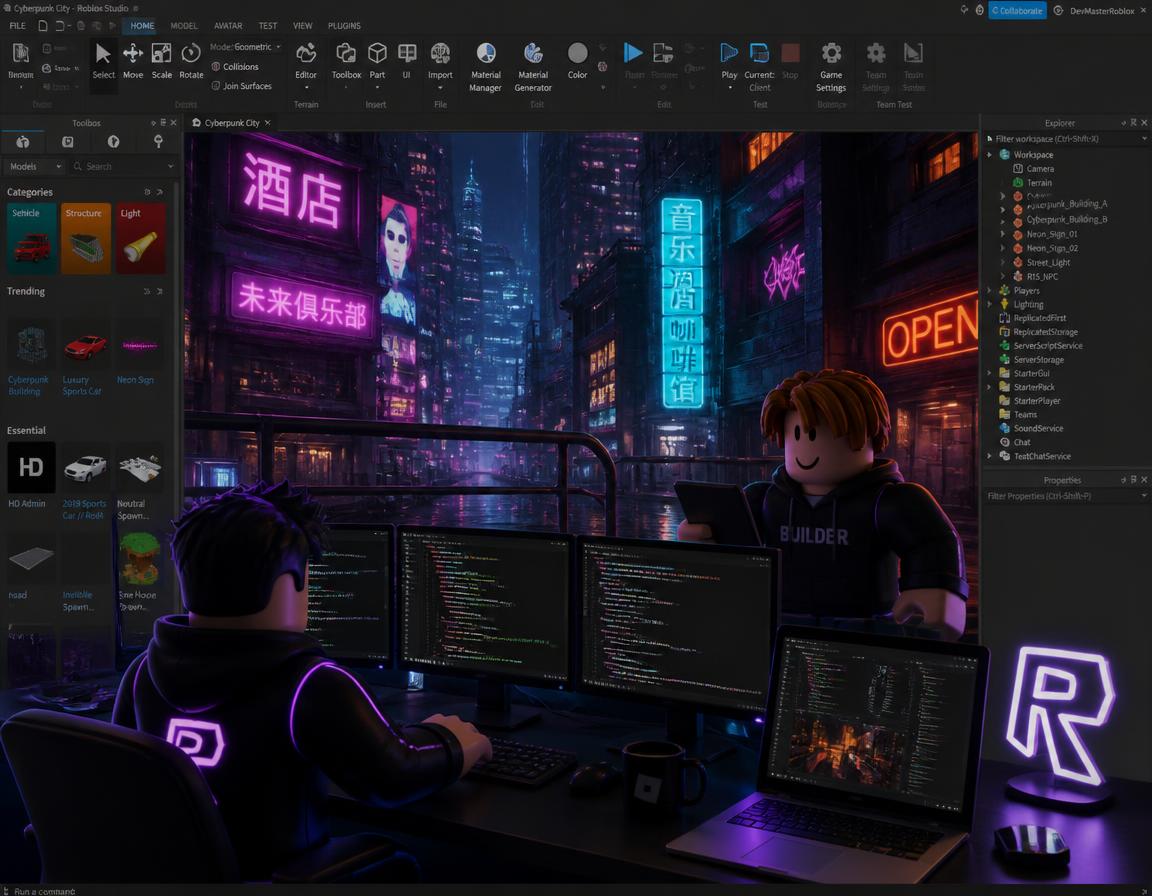
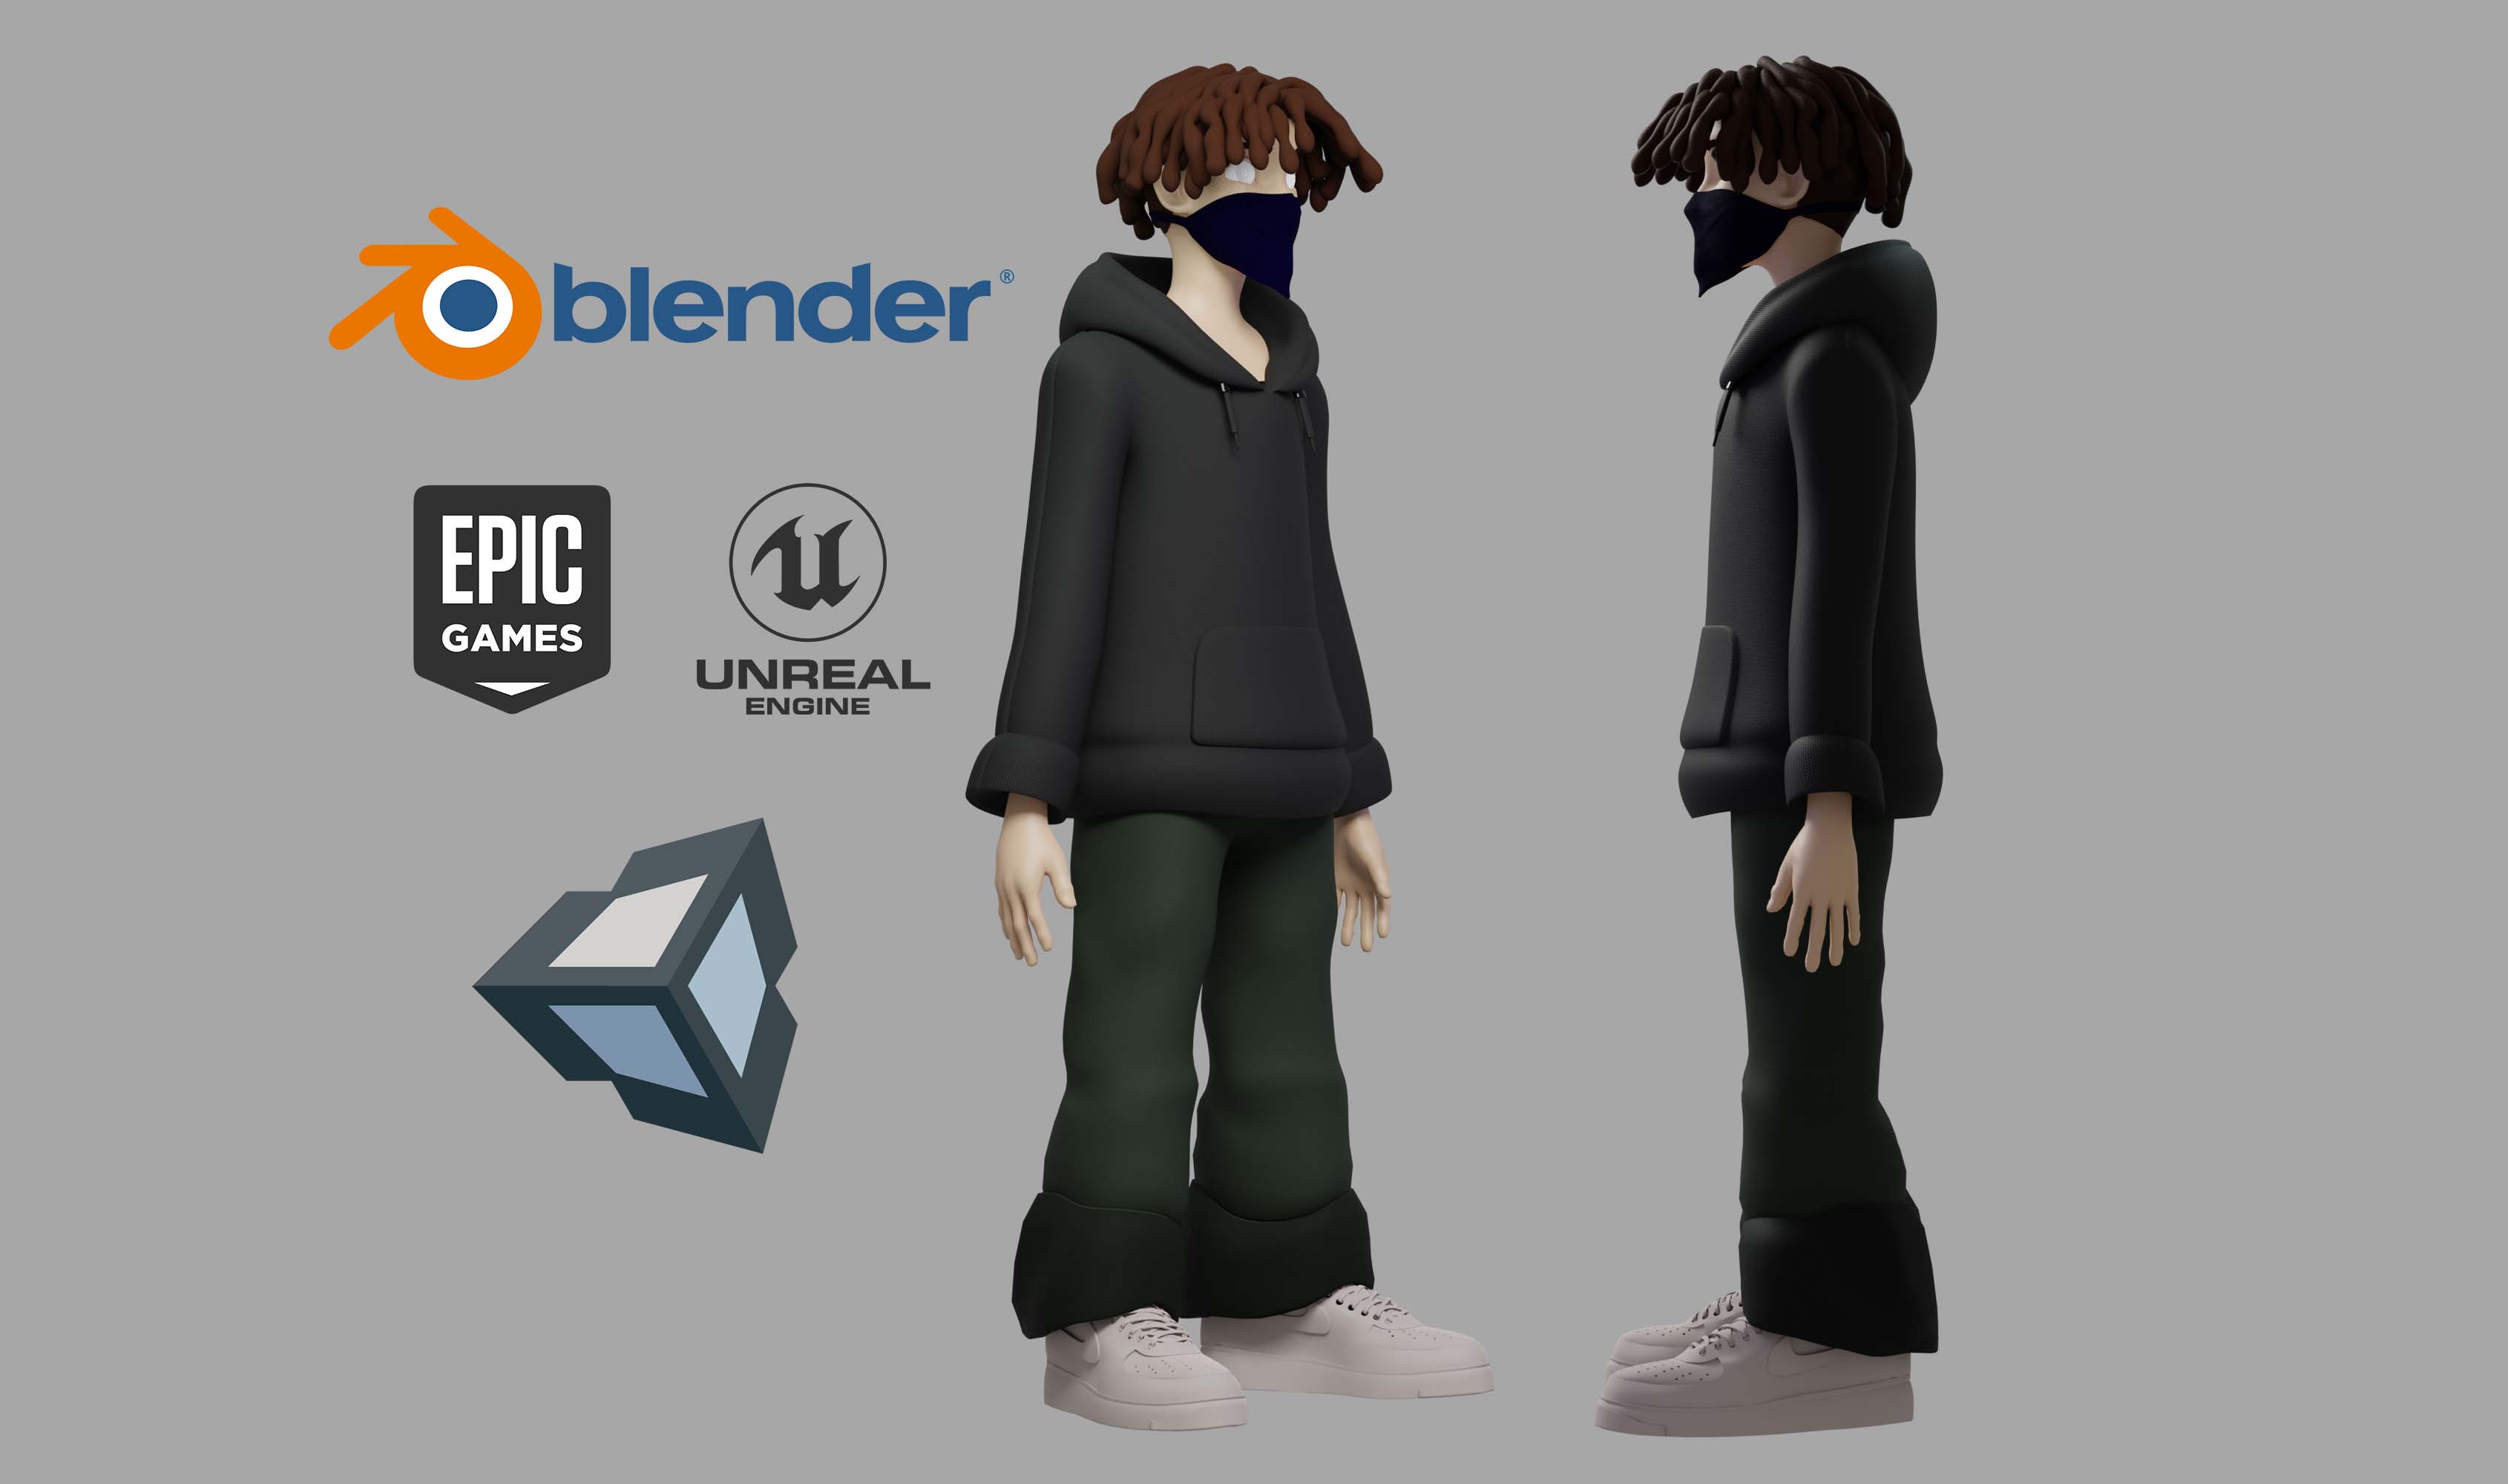
Choose export settings based on your destination platform, whether it's Unreal Engine, Unity, Roblox Studio, Godot, web applications, or 3D printing.
Industry Applications
Blender is used across numerous industries.
- Game Development
- Film Production
- Animation
- Architectural Visualization
- Product Visualization
- Engineering
- Medical Visualization
- Advertising
- Marketing
- Virtual Reality
- Augmented Reality
- Digital Fashion
- 3D Printing
- Industrial Design
- Education
Its versatility makes it suitable for projects ranging from simple product renders to complex feature films.
Tips for Better Results
- Work with real-world scale.
- Save incremental versions of your project.
- Use keyboard shortcuts to improve productivity.
- Keep your Outliner clean and organized.
- Name objects consistently.
- Use collections to organize scenes.
- Regularly purge unused data.
- Use reference images throughout the project.
- Optimize textures before exporting.
- Keep topology clean.
- Avoid unnecessary geometry.
- Use Geometry Nodes whenever procedural workflows can save time.
- Frequently test renders during production.
- Back up important projects.
Continue learning new Blender features with every release.
Conclusion
Blender 5.1.1 is more than just a 3D modeling application—it's a complete production ecosystem capable of handling every stage of digital content creation. From modeling and sculpting to animation, rendering, procedural generation, and simulation, Blender empowers artists to create professional-quality work without expensive software licenses.
By following a structured workflow and embracing Blender's latest tools, you can produce efficient, high-quality assets ready for games, films, product visualization, architecture, and countless other creative projects. Whether you're an experienced professional or just beginning your 3D journey, Blender 5.1.1 provides everything you need to turn ideas into reality.